REVERSE-SEARED STEAK RECIPE
One of the best methods for steak is the reverse sear: start it low, cook it slow, then quickly sear or grill for a beautiful crust.
Method
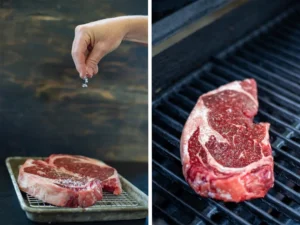
- Season a roast or a thick-cut steak.

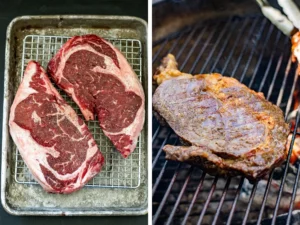
- Arrange the meat on a wire rack set in a rimmed baking sheet and place it in a low oven—between 200 and 275°F (93 and 135°C).
- You can also do this outdoors by placing the meat directly on the cooler side of a closed grill with half the burners on.

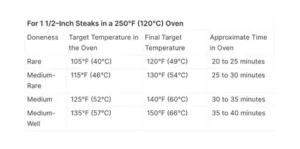
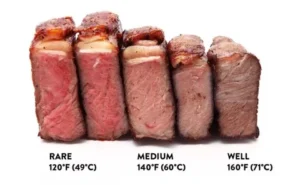
- Cook it until it's about 10 to 15°F below your desired serving temperature and remove from the oven or grill.

- Use the chart above to determine the temperature for the doneness you prefer.

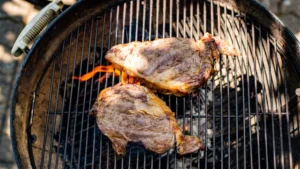
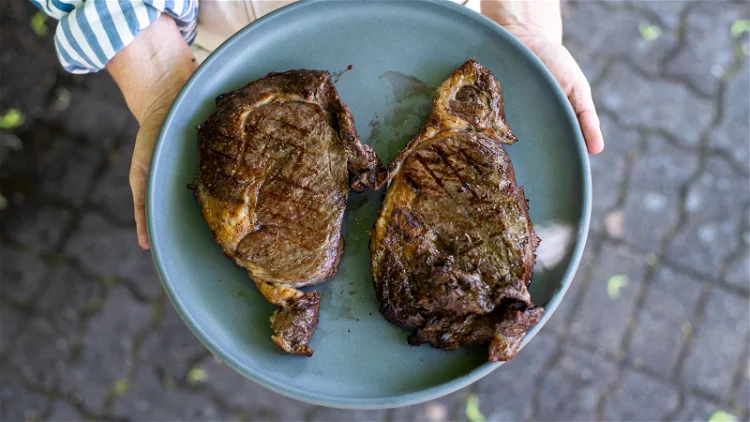
- Sear it in a ripping-hot skillet, or on a grill that's as hot as you can get it. (We chose to start our steaks on a propane grill to control the temperature and finished it on a roaring hot charcoal grill.)

- For even better results, refrigerate the steaks uncovered overnight to dry out their exteriors.

- Enjoy the best-cooked steak you've ever had in your life!

Notes
WHY THIS RECIPE WORKS
An optional overnight dry-brining step helps dry out the exterior of the steak, resulting in even better browning later. By slowly bringing the steak(s) up to temperature, then searing, you get a perfectly cooked interior and a beautifully brown crust. There's no need for a resting period before serving, thanks to the low-heat method used in the first stage of cooking. The reverse sear is a remarkable method. If you're looking for a steak that's perfectly medium-rare from edge to edge, with a crisp crust, there's no better technique.WHY SHOULD YOU REVERSE SEAR YOUR STEAK?
MORE EVEN COOKING
The temperature gradient that builds up inside a piece of meat—that is, the difference in temperature as you work your way from the edges toward the center—is directly related to the rate at which energy is transferred to that piece of meat. The higher the temperature you use to cook, the faster energy is transferred, and the less evenly your meat cooks. Conversely, the more gently a steak is cooked, the more evenly it cooks. By starting steaks in a low-temperature oven, you wind up with almost no overcooked meat whatsoever. Juicier results are your reward.BETTER BROWNING
When searing a piece of meat, our goal is to create a crisp, darkly browned crust to contrast with the tender, pink meat underneath. To do this, we need to trigger the Maillard reaction, the cascade of chemical reactions that occur when proteins and sugars are exposed to high heat. Think of your screaming-hot cast iron skillet as a bucket, and the heat energy it contains as water filling that bucket. When you place a steak in that pan, you are essentially pouring that energy out of the skillet and into the steak. In turn, that steak has three smaller energy buckets:- Temperature-change bucket: It takes energy to raise the temperature of the surface of that steak.
- Evaporation bucket: It takes energy to evaporate the surface moisture from the steaks.
- Maillard-browning bucket: It takes energy to trigger those browning reactions.
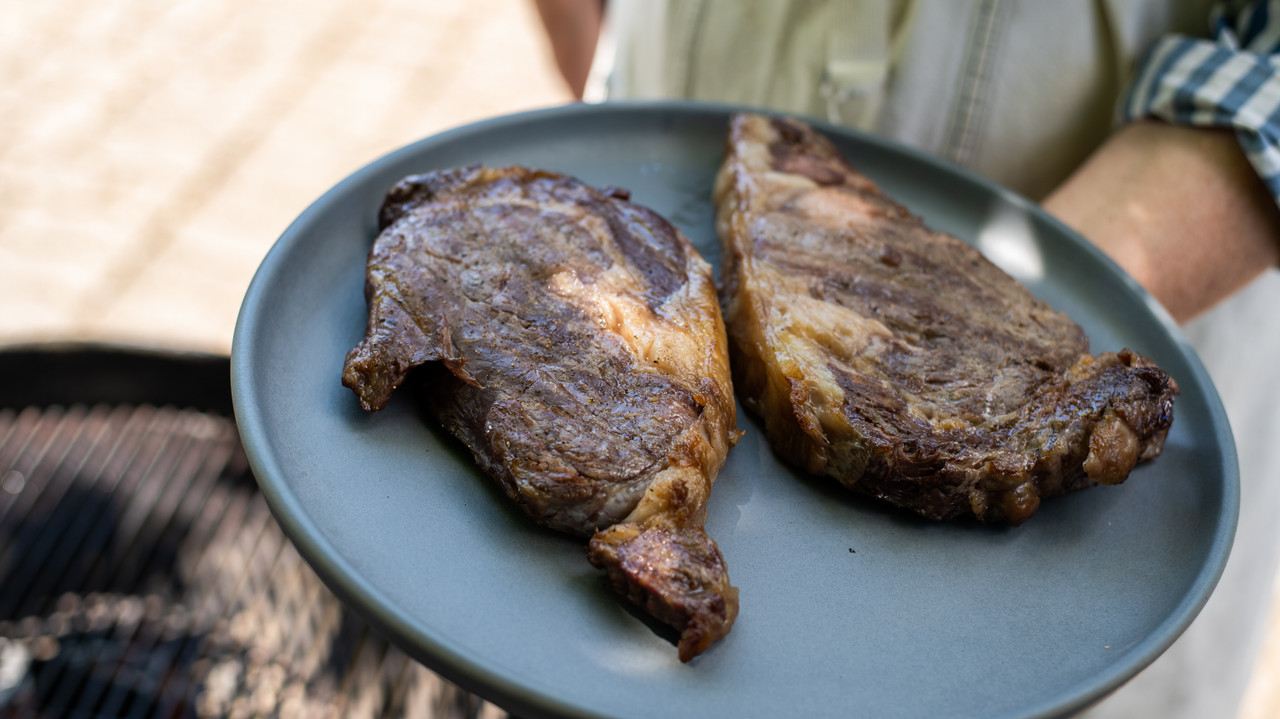 NOTE: Moisture is the biggest enemy of a good sear. Any process that can reduce the amount of surface moisture on a steak is going to improve how well it browns and crisps—and, by extension, minimize the amount of time it spends in the pan, thus minimizing the amount of overcooked meat underneath. It's a strange irony that to get the moistest possible results, you should start with the driest possible steak but its 100% true.
The reverse sear is aces at removing surface moisture. As the steak slowly comes up to temperature in the oven, its surface dries out, forming a thin, dry pellicle that browns extremely rapidly.
Want to get your steak to brown even better? Set it on a rack in a rimmed baking sheet, and leave it in the fridge, uncovered, overnight. The cool circulating air of the refrigerator will get it nice and dry. The next day, when you're ready to cook, just pop that whole rack and baking sheet in the oven.

